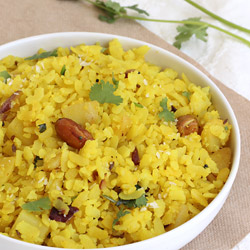
Roasted Poha Chivda Recipe (with Step by Step Photos)
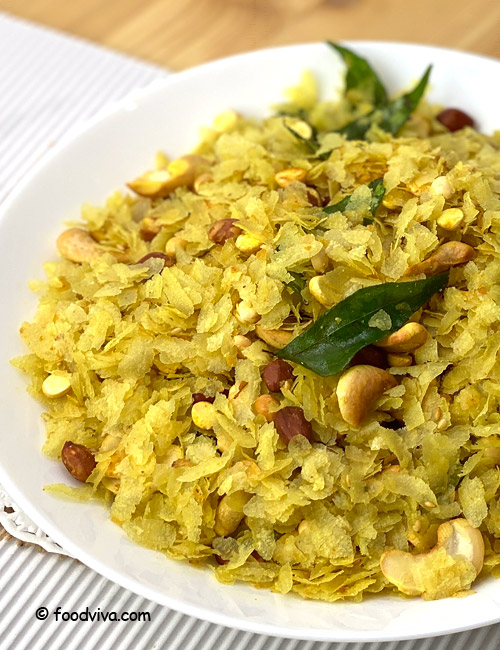
Roasted Poha Chivda is a deliciously crispy and crunchy mixture of roasted thin poha, shallow fried nuts (peanuts, cashew nuts) and daliya dal with the amazing tempering of curry leaves, green chilli, sesame seeds, asafoetida(hing) and spices.
This chiwda is prepared using only 2 tablespoons oil and hence it’s a healthier option for people who want a low-calorie afternoon snack with tea. And not only that it can be ready in 15 minutes and stays good for 2-3 weeks. Follow the below given recipe and don’t forget to read the tips section before making this chivda.

Roasted Poha Chivda Video
More Snacks Recipes
Preparation Time: 10 minutes
Cooking Time: 15 minutes
Serves: 6 servings
| Ingredients: |
| 2 cups Thin Poha (flattened rice/rice flakes) |
| 2 tablespoons Oil |
| 1/4 cup Peanuts (ground nuts) |
| 1/4 cup Cashew Nuts |
| 1/4 cup Daliya Dal (roasted chana dal) |
| 10-15 Curry Leaves |
| 1 Green Chilli, chopped, optional |
| 1/2 teaspoon Sesame Seeds |
| 1 teaspoon powdered Sugar |
| 1/4 teaspoon Turmeric Powder |
| Salt, to taste |
Directions:
 Keep all the ingredients ready.
- Take a heavy based kadai or a pan and add 2 cups thin poha(flattened rice) to it. Heat it over low flame and roast the poha until it turns crisp. Stir them gently with a spatula or toss them lightly by holding the pan (or kadai) handles at regular intervals to roast them evenly and prevent them from burning. Don’t stir the poha too much with a spatula as they might break.
- After roasting the poha, they might not change in color but they will be crisp. You can check whether poha are roasted or not by taking a few poha and crush them using your fingers. If they can be crushed easily then they are ready, else roast them for a few more minutes. It will take approx. 4-5 minutes to roast the poha but it might take more or less time depending on the size and thickness of the pan (kadai). Transfer them in a bowl or a plate.
- If you want to use the same kadai for further process then wipe the kadai with a kitchen cloth. Be careful as the kadai will be hot (or wait for a few minutes before wiping or you can use another clean kadai). Heat 2 tablespoons oil in the same kadai over medium flame.
- Add 1/4 cup peanuts and fry them for a minute (don’t wait until the peanuts turn brown).
- Add 1/4 cup cashewnuts and fry for 30 seconds.
- Add 1 sliced or chopped green chilli, 1/4 cup daliya dal (roasted chana dal), 10-15 curry leaves, 1/2 teaspoon sesame seeds and a pinch of asafoetida (hing).
- Mix and shallow fry them until all the nuts are light golden (for approx. 30 seconds to a minute). Make sure the nuts don’t turn brown. If required, reduce the flame to low to prevent all the nuts from turning brown.
- Add 1/4 teaspoon turmeric powder, 1 teaspoon powdered sugar and salt to taste (add salt for poha as well). Mix well.
- Add roasted poha and mix well by stirring the mixture gently with a spatula (or toss everything well by holding the kadai handles).
- Taste the chivda and adjust the spices (sugar and salt) as per your taste. Roasted Poha Chivda is ready for serving. Let it cool down completely before storing in an airtight container. It stays good for 2-3 weeks.
Tips and Variations:
- Make sure to use only thin poha for this recipe.
- You can bake the poha in the oven – spread them in a baking tray and then bake at 356 C (180 F) for 12-14 minutes or until crisp. Stir them once in between. You can also toast the nuts (peanuts and cashew nuts) for 10-12 minutes.
- Add raisins, sliced coconuts, melon seeds, sev and crispy mamra (puffed rice/murmura) for variation.
- Adjust the amount of nuts as per your choice.
Taste: Salty and mild Sweet
Serving Ideas: Serve roasted poha chivda with tea in the afternoon snack.
Related Step by Step Recipes